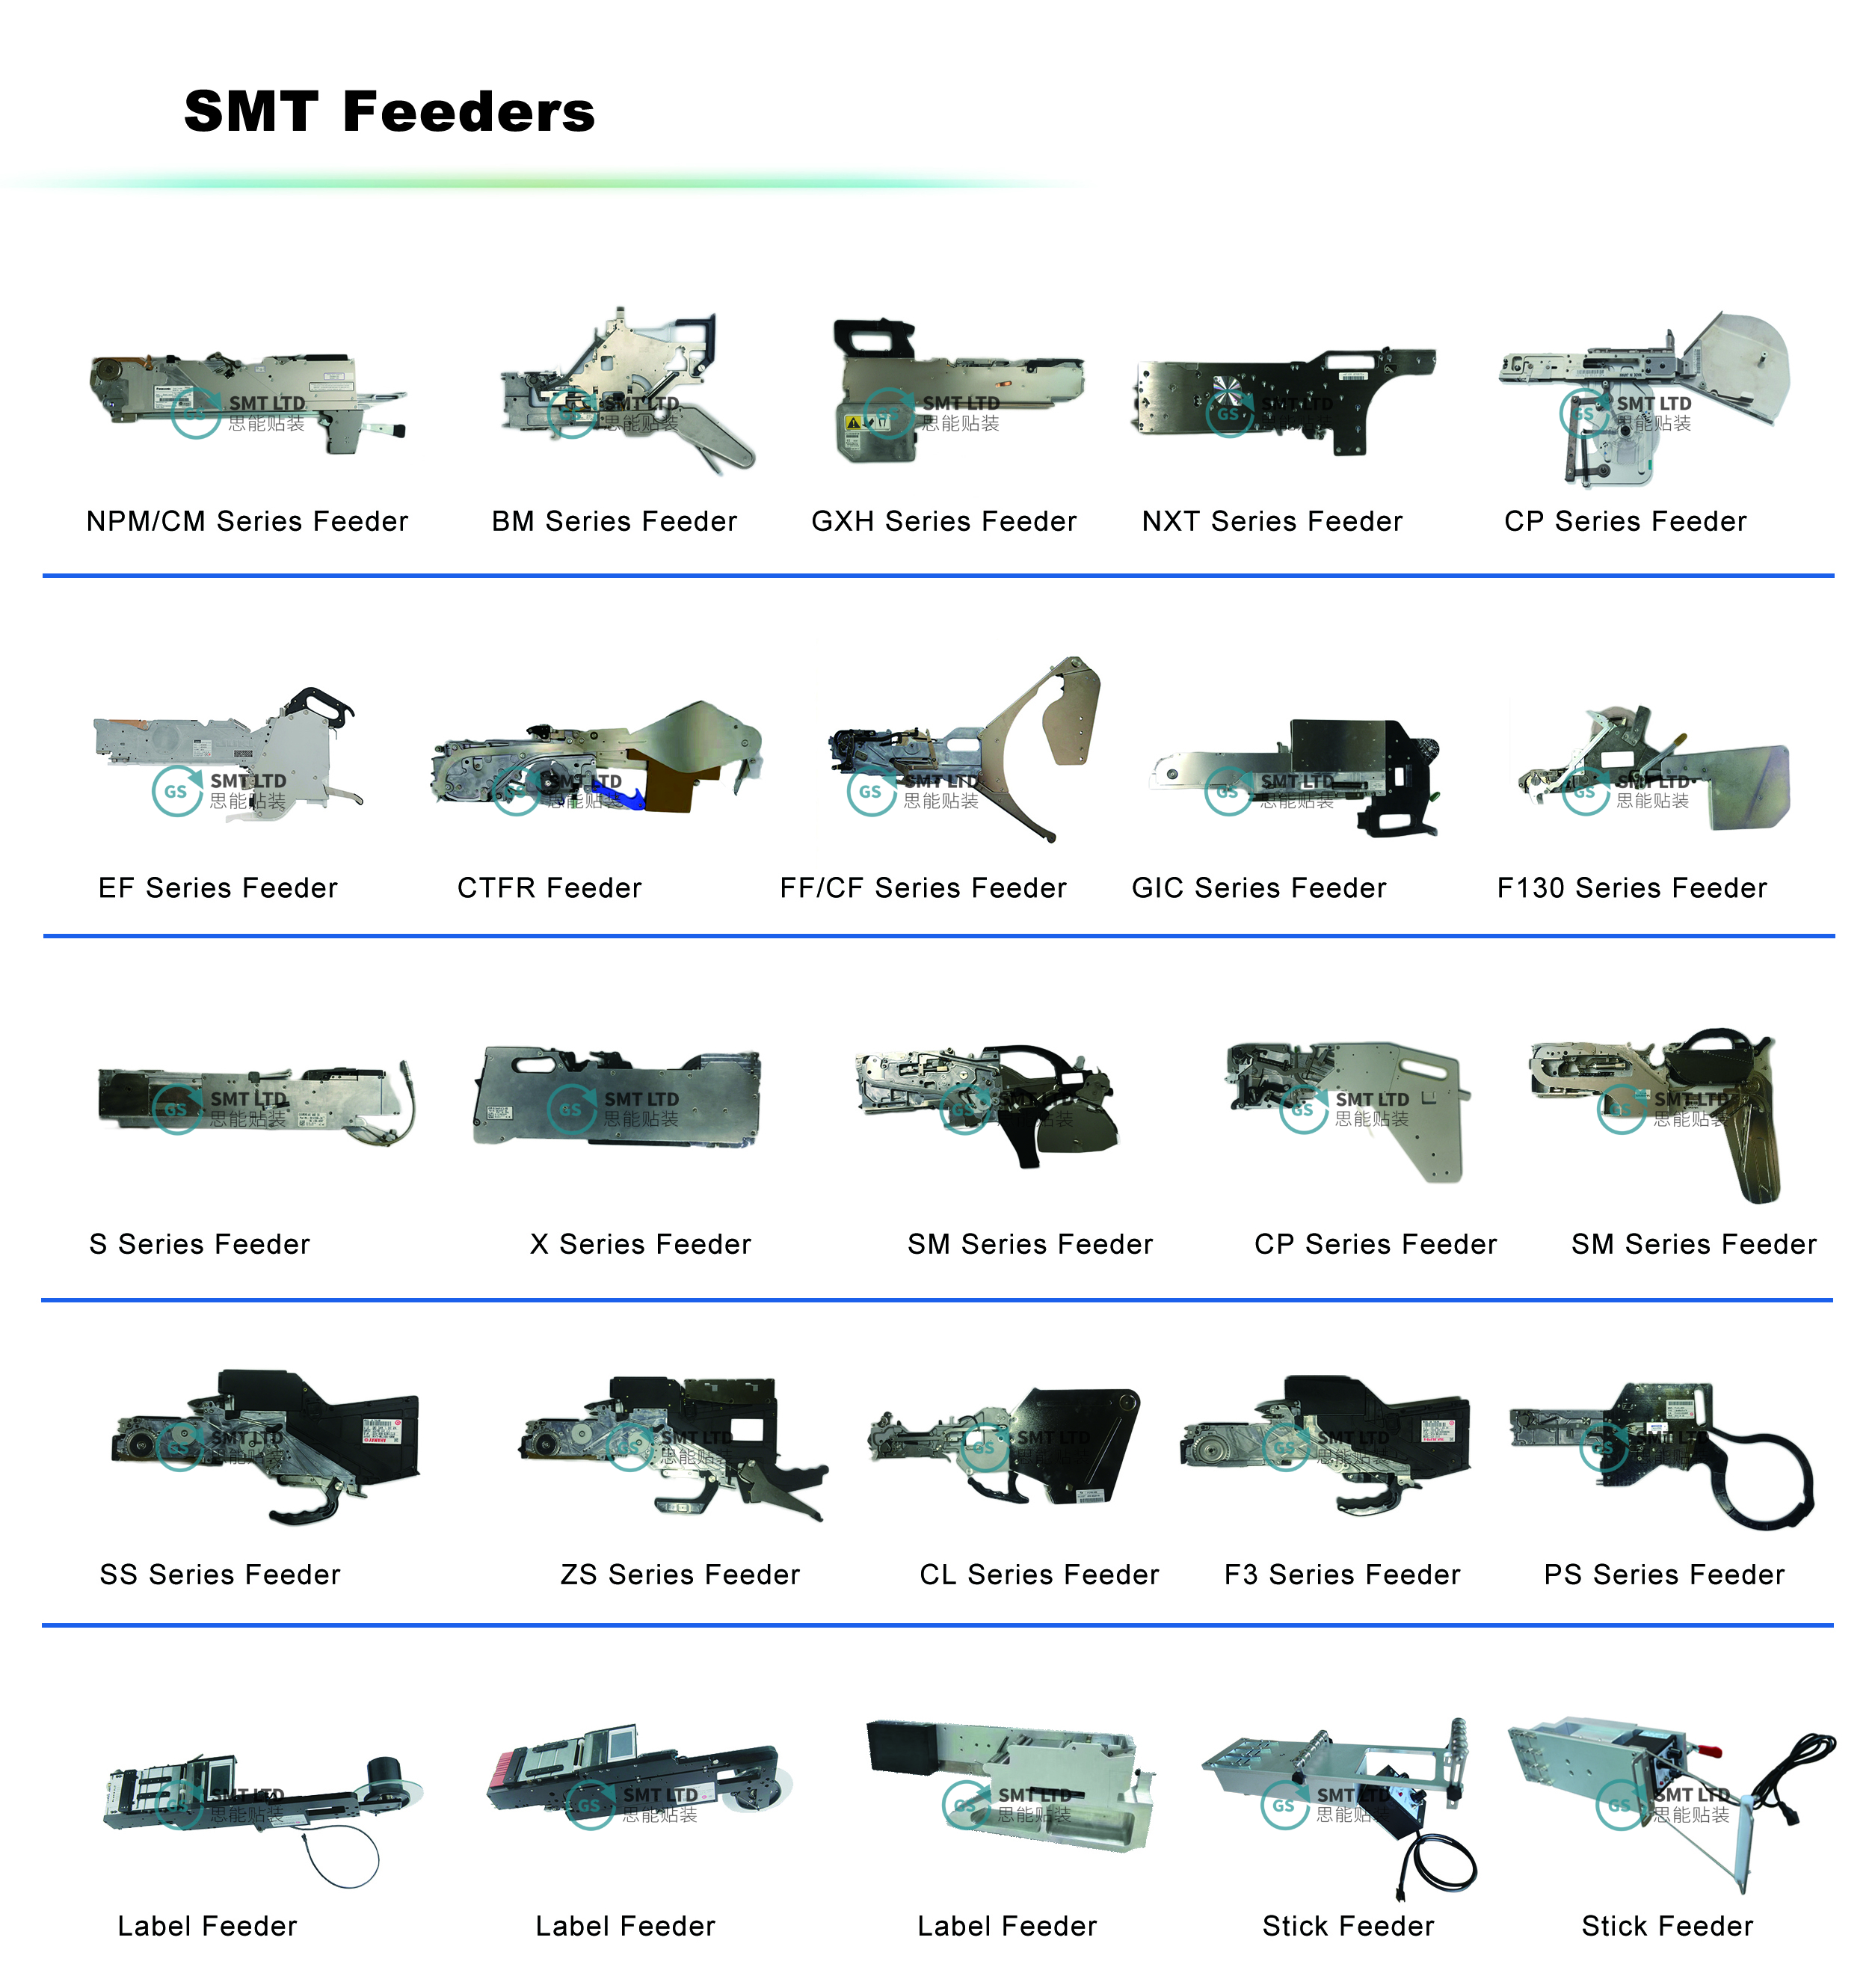
YAMAHA FEEDER CL 32mm KW1-M5500-000
Brand Name :YAMAHA
Product name:Feeder
Model Number:
KW1-M5500-000 CL feeder
Condition:original new/used original
Lead time:1-3 Days
MOQ : 1 PCS
Calibrating Yamaha CL feeders is crucial to ensure accurate and reliable component placement during surface mount assembly processes. The calibration procedure may vary slightly depending on the specific model of the feeder and pick-and-place machine, but generally, the following steps can be followed:
1.Access Calibration Menu: Enter the calibration menu on the pick-and-place machine's control interface. This is usually done through the machine's software interface or control panel.
2.Select Feeder Calibration Option: Navigate to the feeder calibration option within the calibration menu. This option may be labeled differently depending on the machine's software.
3.Identify Feeder to Calibrate: Specify the feeder that you want to calibrate. Most Yamaha CL machines support multiple feeders, so select the feeder you wish to calibrate from the list provided.
4.Prepare Calibration Components: Prepare calibration components of known dimensions and specifications. These components should be representative of the types of components typically used in production.
5.Load Calibration Components: Load the calibration components into the selected feeder according to the feeder's loading procedures. Ensure that the components are properly aligned and secured within the feeder.
6.Execute Calibration Routine: Initiate the calibration routine for the selected feeder. This routine typically involves the machine's automatic calibration process, which adjusts various parameters to optimize component placement accuracy.
7.Verify Calibration Results: After the calibration routine is completed, verify the calibration results by performing test placements of calibration components onto a test PCB. Check the placement accuracy and consistency of the calibrated feeder.
8.Fine-Tuning (if necessary): If the calibration results are not satisfactory or if adjustments are needed, fine-tune the feeder calibration settings manually. This may involve adjusting parameters such as component pickup position, placement offset, or feeder feeding speed.
9.Save Calibration Settings: Once satisfied with the calibration results, save the calibration settings for the feeder. This ensures that the feeder operates with the calibrated parameters during production runs.
10.Repeat for Other Feeders (if applicable): If you have multiple feeders on the machine, repeat the calibration process for each feeder individually to ensure optimal performance.
11. Regular Maintenance and Monitoring: Periodically check and recalibrate the feeders as part of routine maintenance to maintain accurate and reliable performance over time.
It's essential to consult the specific user manual or documentation provided by Yamaha for detailed instructions on feeder calibration procedures tailored to your machine model. Additionally, proper training and experience with the machine's operation and calibration processes are crucial for successful calibration.
Hot tags:Yamaha CL 32mm feeder KW1-M5500-000,KW1-M5500-000 feeder specifications,Yamaha CL feeder models KW1-M5500-000,KW1-M5500-000 feeder for Yamaha CL machine,KW1-M5500-000 Yamaha CL pick and place feeder,KW1-M5500-000 Yamaha CL feeder parts,CL 32mm feeder manual Yamaha KW1-M5500-000,Yamaha CL feeder troubleshooting KW1-M5500-000,KW1-M5500-000 feeder calibration Yamaha CL,KW1-M5500-000 Yamaha CL 32mm feeder price,china,wholesale, cheap, low price, manufacturers, factory, suppliers, for sale, in stock


