Content Menu
● Understanding SMT Components
>> What Are SMT Components?
>>> Types of SMT Components
● The WHDTS 1.5mm SMT Components Solder Kit
>> Overview of the WHDTS 1.5mm Kit
● Preparing for Soldering
>> Setting Up Your Workspace
>>> Gathering Tools and Materials
● Step-by-Step Guide to Soldering SMT Components
>> Step 1: Apply Flux
>> Step 2: Position the Component
>> Step 3: Heat Your Soldering Iron
>> Step 4: Solder One Pin First
>> Step 5: Solder Remaining Pins
>> Step 6: Inspect Your Work
>> Step 7: Clean Up
● Troubleshooting Common Issues
>> Cold Joints
>> Bridging
>> Component Misalignment
● Tips for Successful Soldering with WHDTS Kit
● Advanced Techniques for Experienced Users
>> Hot Air Rework Station
>> Solder Paste Application
>> Automated Pick-and-Place Machines
● Conclusion
● FAQ
>> 1. What is an SMT component?
>> 2. Why should I use flux when soldering?
>> 3. Can I use any type of solder wire with my WHDTS kit?
>> 4. How do I prevent bridging when soldering?
>> 5. Is practice necessary for mastering SMT soldering?
Soldering surface mount technology (SMT) components can be a daunting task for both beginners and experienced hobbyists. However, with the right tools and techniques, you can efficiently solder these tiny components onto printed circuit boards (PCBs). One such tool that has gained popularity is the WHDTS 1.5mm SMT Components Solder Kit. This article will guide you through the process of soldering SMT components using this kit, providing tips, techniques, and troubleshooting advice to ensure success.

Understanding SMT Components
What Are SMT Components?
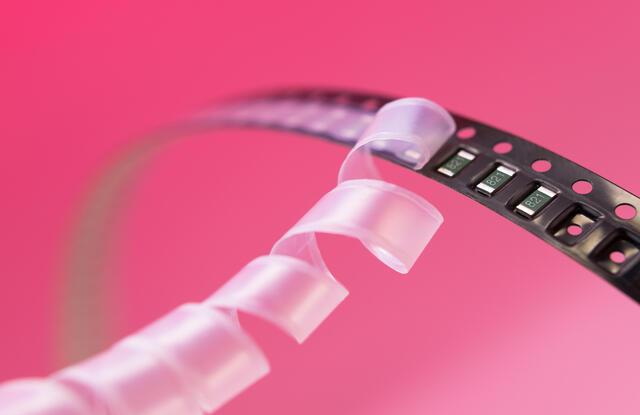
Surface mount technology (SMT) components are electronic components that are mounted directly onto the surface of PCBs. Unlike traditional through-hole components, which require holes to be drilled into the PCB, SMT components are soldered onto pads on the board's surface. This method allows for a more compact design and higher component density, making it ideal for modern electronic devices.
Types of SMT Components
SMT components come in various shapes and sizes, including:
- Resistors
- Capacitors
- Diodes
- Integrated circuits (ICs)
- Inductors
Each type of component has specific soldering requirements, but the general principles remain the same.
The WHDTS 1.5mm SMT Components Solder Kit
Overview of the WHDTS 1.5mm Kit
The WHDTS 1.5mm SMT Components Solder Kit is designed to simplify the soldering process for SMT components. This kit includes:
- A 1.5mm soldering tip for precision work
- High-quality solder wire
- Flux pen to enhance solder flow
- Tweezers for handling small components
- A cleaning brush for maintaining your tools
This comprehensive kit provides everything you need to get started with soldering SMT components effectively.
Preparing for Soldering
Before you begin soldering, it's essential to prepare your workspace and gather all necessary tools.
Setting Up Your Workspace
Ensure that your workspace is clean, well-lit, and organized. A clutter-free environment will help you focus on the task at hand and minimize the risk of losing small components. Consider using an anti-static mat to protect sensitive electronic parts from electrostatic discharge.
Gathering Tools and Materials
In addition to the WHDTS 1.5mm kit, you will need:
- A soldering iron with adjustable temperature settings
- A PCB with pre-drilled pads for SMT components
- Safety goggles to protect your eyes from solder splashes
- A magnifying glass or microscope for better visibility of small components
- Desoldering braid or pump in case you need to remove excess solder or correct mistakes
Step-by-Step Guide to Soldering SMT Components
Now that you have everything ready, follow these steps to solder SMT components using the WHDTS 1.5mm kit.
Step 1: Apply Flux
Using the flux pen from your WHDTS kit, apply a small amount of flux to the pads where you will be placing your SMT components. Flux helps improve solder flow and adhesion, ensuring a strong connection between the component and the PCB.
Step 2: Position the Component
Using tweezers, carefully position the SMT component over the fluxed pads on the PCB. Ensure that it is aligned correctly before proceeding to solder. Taking your time during this step is crucial; misalignment can lead to poor connections or require rework later.
Step 3: Heat Your Soldering Iron
Set your soldering iron to an appropriate temperature—typically between 350°C (662°F) and 400°C (752°F). Allow it to heat up fully before attempting to solder. Using too low a temperature can lead to cold joints, while too high a temperature can damage sensitive components.

Step 4: Solder One Pin First
Touch the tip of your soldering iron to one pin of the component and one pad on the PCB simultaneously. Feed a small amount of solder into the joint while keeping the iron in place for a second or two. Remove the iron and allow the joint to cool briefly before moving on. This initial joint acts as an anchor point for positioning other pins.
Step 5: Solder Remaining Pins
Once one pin is secured, proceed to solder the remaining pins using a similar technique. Always ensure that each joint is solid before moving on to avoid cold joints or weak connections. If you find it difficult to reach certain pins due to their position or proximity to other components, consider using a smaller tip or adjusting your angle.
Step 6: Inspect Your Work
After soldering all pins, inspect each joint carefully using a magnifying glass or microscope. Look for any signs of poor connections, such as cold joints or bridges (unintentional connections between adjacent pins). If necessary, reheat any problematic joints and add more solder as needed.
Step 7: Clean Up
Once satisfied with your work, use a cleaning brush to remove any excess flux from the PCB surface. This step is crucial for ensuring long-term reliability and performance of your circuit. Residual flux can attract moisture and contaminants that may lead to corrosion over time.
Troubleshooting Common Issues
Even with careful preparation and execution, issues may arise during the soldering process. Here are some common problems and their solutions:
Cold Joints
A cold joint occurs when there isn't enough heat applied during soldering, resulting in a weak connection. If you notice a dull or grainy appearance in your joint:
- Reheat the joint with your soldering iron.
- Add more solder if necessary.
Cold joints can lead to intermittent connections that may fail under stress or over time.
Bridging
Bridging happens when excess solder creates an unintended connection between two adjacent pads or pins. To fix this:
- Use a desoldering braid or pump to remove excess solder.
- Re-solder each pin carefully after cleaning up.
Bridging can cause short circuits in your circuit board, leading to malfunction or damage.
Component Misalignment
If an SMT component becomes misaligned during soldering:
- Use tweezers to gently reposition it while heating one pin.
Proper alignment is critical; misaligned components can cause performance issues or even damage other parts on the PCB.
Tips for Successful Soldering with WHDTS Kit
To ensure successful results when using the WHDTS 1.5mm kit for SMT component soldering:
- Practice on Scrap PCBs: Before working on your final project, practice on scrap boards to build confidence.
- Keep Your Tools Clean: Regularly clean your soldering iron tip with a damp sponge or brass cleaner.
- Work in a Well-Lit Area: Adequate lighting helps prevent mistakes by allowing you to see details clearly.
- Take Breaks if Fatigued: Maintaining focus is crucial for precision work; don't hesitate to take breaks if needed.
- Use Appropriate Solder: Ensure you're using high-quality lead-free or rosin-core solder that works well with your setup.
Advanced Techniques for Experienced Users
Once you've mastered basic techniques using the WHDTS kit, consider exploring advanced methods that can further enhance your skills and efficiency:
Hot Air Rework Station
For larger projects involving multiple SMT components or complex layouts, consider investing in a hot air rework station. This tool allows you to heat multiple pins simultaneously without direct contact from a soldering iron, reducing thermal stress on sensitive parts.
Solder Paste Application
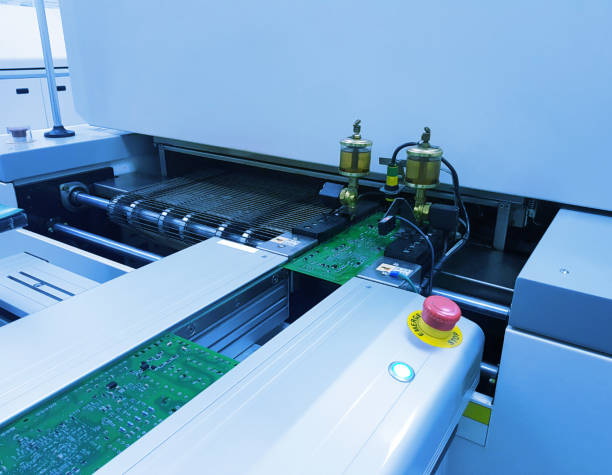
Using solder paste instead of traditional wire can streamline assembly processes when dealing with numerous SMT parts. Apply paste onto pads using a stencil before placing components; then use hot air or an oven for reflow soldering.
Automated Pick-and-Place Machines
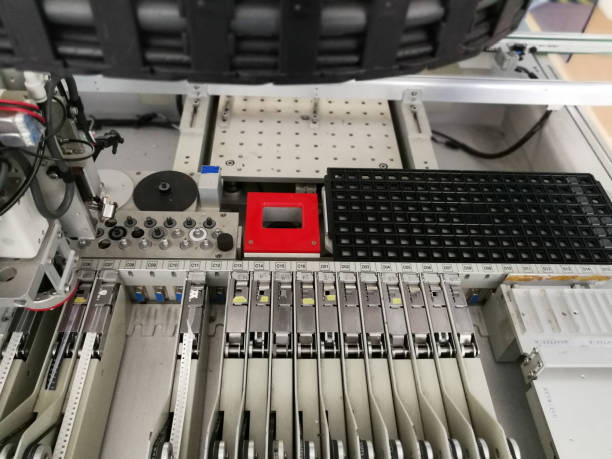
For professional applications where speed and accuracy are paramount, automated pick-and-place machines can significantly reduce assembly times by precisely positioning components onto PCBs before reflow processes.
Conclusion
Soldering SMT components may seem challenging at first, but with practice and proper techniques using tools like the WHDTS 1.5mm SMT Components Solder Kit, anyone can master this skill. By following this guide and applying tips from experienced hobbyists, you'll be able to create reliable electronic circuits with confidence.
The key elements include preparing your workspace, understanding how to use your tools effectively, troubleshooting common issues as they arise, and exploring advanced techniques as you gain experience. With dedication and patience, you'll find that soldering can be an enjoyable part of electronics projects.

FAQ
1. What is an SMT component?
SMT components are electronic parts designed for surface mounting on PCBs rather than being inserted through holes.
2. Why should I use flux when soldering?
Flux helps improve solder flow and adhesion between components and PCB pads, resulting in stronger connections.
3. Can I use any type of solder wire with my WHDTS kit?
While you can use various types of solder wire, it's recommended to use high-quality lead-free or rosin-core solder for optimal results.
4. How do I prevent bridging when soldering?
To prevent bridging, use minimal amounts of solder and ensure that you're applying heat only where needed during each joint's formation.
5. Is practice necessary for mastering SMT soldering?
Yes! Practicing on scrap boards will help build confidence and skill before working on final projects.


