Content Menu
● What Is a Manual SMD Placement Machine?
>> Key Features of Manual SMD Placement Machines
● Why Choose a Manual SMD Placement Machine?
>> 1. Ideal for Prototyping
>> 2. Low-Volume Production
>> 3. Precision Control
>> 4. Learning Opportunity
● Step-by-Step Guide to Using a Manual SMD Placement Machine
>> 1. Preparing Your Workspace
>> 2. Setting Up the Machine
>> 3. Placing Components
>> 4. Inspecting Your Work
>> 5. Reflow Soldering
● Tips for Beginners
>> 1. Begin with Simple Projects
>> 2. Use Magnification Tools
>> 3. Organize Components
>> 4. Practice Steady Hand Techniques
>> 5. Maintain Your Equipment
● Advanced Techniques for Improving Accuracy
>> 1. Using Fiducial Markers
>> 2. Leveraging Stencils for Solder Paste Application
>> 3. Optimizing Component Placement Order
● Common Challenges and How to Overcome Them
>> 1. Component Misalignment
>> 2. Difficulty Picking Up Components
>> 3. Fatigue During Long Sessions
>> 4. Handling Tiny Components
● Conclusion
● FAQs
>> 1. What is a manual SMD placement machine used for?
>> 2. How do I choose between manual and automatic SMD placement machines?
>> 3. What tools do I need alongside a manual SMD placement machine?
>> 4. Can beginners use manual SMD placement machines effectively?
>> 5. What are common issues with manual SMD placement machines?
Manual SMD placement machines are an essential tool for small-scale PCB assembly, prototyping, and specialized tasks requiring precision. These machines allow operators to manually place surface-mount devices (SMDs) onto printed circuit boards (PCBs) with the aid of tools like vacuum pens or tweezers. While not as fast or automated as their fully automatic counterparts, manual SMD placement machines are cost-effective and flexible, making them ideal for beginners and low-volume production. This article will guide beginners through the process of getting started with manual SMD placement machines, covering their benefits, setup, operation, tips for success, and troubleshooting common challenges.

What Is a Manual SMD Placement Machine?
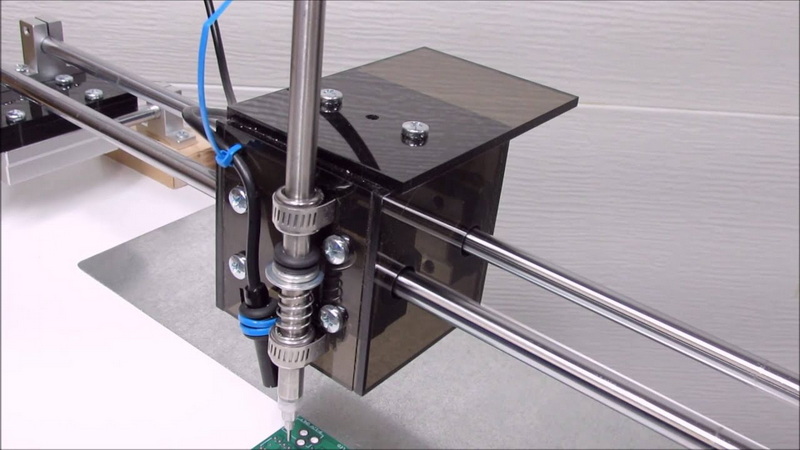
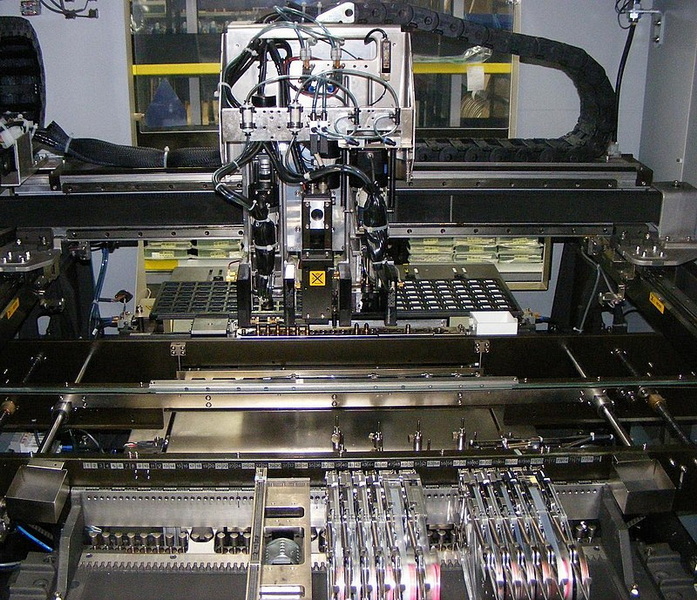
A manual SMD placement machine is a tool designed to assist operators in placing surface-mount components onto PCBs. Unlike automatic machines, these systems rely heavily on human intervention for precision and accuracy. These machines are widely used in electronics manufacturing for prototyping or small-scale production.
Key Features of Manual SMD Placement Machines
1. Cost-Effective: Manual machines are significantly cheaper than automated systems, making them accessible to hobbyists, startups, and small businesses.
2. Flexibility: They are suitable for handling custom designs and small-batch production.
3. Ease of Use: Compared to automated systems, manual SMD placement machines require less training and are simpler to operate.
4. Compact Design: Most manual machines are lightweight and portable, making them easy to integrate into small workspaces.
Why Choose a Manual SMD Placement Machine?
Manual SMD placement machines provide a balance between cost-efficiency and functionality. Here's why they might be the right choice for you:
1. Ideal for Prototyping
Prototyping often involves frequent design changes, making manual machines more practical than automated systems that require extensive programming.
2. Low-Volume Production
For businesses producing small batches of PCBs or custom designs, manual placement machines offer a more economical solution compared to high-end automated systems.
3. Precision Control
Operators can manually adjust the placement of components, ensuring accurate alignment even for delicate or irregularly shaped parts.
4. Learning Opportunity
Manual machines provide an excellent learning platform for beginners to understand PCB assembly processes before transitioning to automated systems.
Step-by-Step Guide to Using a Manual SMD Placement Machine
Getting started with a manual SMD placement machine requires preparation, practice, and attention to detail. Below is a comprehensive guide:
1. Preparing Your Workspace
A well-organized workspace is crucial for efficient PCB assembly:
- Use an anti-static mat to prevent electrostatic discharge (ESD), which can damage sensitive components.
- Arrange components in labeled bins or trays for easy identification.
- Ensure good lighting and keep magnification tools handy.
2. Setting Up the Machine
Proper setup is key to achieving accurate results:
1. Secure the PCB on the X-Y positioning table using clamps or holders.
2. Apply solder paste to the PCB pads using a stencil or solder paste dispenser.
3. Calibrate the vacuum pickup tool by testing its suction on sample components.
4. Adjust the magnification tools to ensure clear visibility of the PCB.
3. Placing Components
The placement process requires precision and focus:
1. Use tweezers or vacuum pens to pick up an SMD component.
2. Align the component over its designated pad on the PCB using magnification tools.
3. Gently release the component onto the pad without applying excessive force.
4. Inspecting Your Work
After placing all components:
- Use a microscope or magnifying glass to inspect alignment and positioning.
- Check that all components are seated properly on their pads without tilting or misalignment.
5. Reflow Soldering
Once all components are placed:
1. Transfer the PCB to a reflow oven or use a hot air rework station.
2. Heat the board according to the solder paste specifications until the solder melts and secures the components in place.

Tips for Beginners
Starting with manual SMD placement machines can be challenging but rewarding if approached correctly. Here are some tips:
1. Begin with Simple Projects
Start by assembling PCBs with larger components like resistors and capacitors before moving on to smaller parts like ICs or fine-pitch connectors.
2. Use Magnification Tools
Magnifying glasses or microscopes help you see tiny details clearly, improving placement accuracy.
3. Organize Components
Keep your workspace tidy by organizing components in labeled bins or trays based on size and type.
4. Practice Steady Hand Techniques
Precision is critical in manual placement; practice holding tools steadily and aligning components carefully.
5. Maintain Your Equipment
Regularly clean vacuum pickup tools and replace worn-out tips to ensure consistent performance.
Advanced Techniques for Improving Accuracy
Once you gain confidence with basic operations, you can explore advanced techniques to enhance your efficiency:
1. Using Fiducial Markers
Fiducial markers on PCBs act as reference points during component alignment, helping improve accuracy when placing parts manually.
2. Leveraging Stencils for Solder Paste Application
Using stencils ensures uniform solder paste application across all pads, reducing errors during reflow soldering.
3. Optimizing Component Placement Order
Place larger components first before moving on to smaller ones; this minimizes accidental displacement during assembly.
Common Challenges and How to Overcome Them
Even experienced users encounter challenges when working with manual SMD placement machines:
1. Component Misalignment
Cause: Lack of precision during placement.
Solution: Use magnification tools and take your time aligning each component carefully.
2. Difficulty Picking Up Components
Cause: Insufficient vacuum pressure or worn-out tips.
Solution: Check vacuum settings regularly and replace damaged tips when necessary.
3. Fatigue During Long Sessions
Cause: Extended periods of manual operation can lead to hand strain or fatigue.
Solution: Take breaks frequently and use ergonomic tools like hand rests or wrist supports.
4. Handling Tiny Components
Cause: Small parts like 0402 resistors can be difficult to pick up accurately.
Solution: Practice handling smaller parts gradually while using high-quality tweezers or vacuum pens designed for fine-pitch work.
Conclusion
Manual SMD placement machines offer an accessible entry point into PCB assembly for beginners while remaining valuable tools for prototyping and low-volume production environments. By understanding their setup process, mastering operational techniques, and addressing common challenges, users can achieve high-quality results without investing in expensive automated systems.
Whether you're a hobbyist looking to build your first circuit board or a small business owner aiming to produce custom electronics, manual SMD placement machines provide flexibility, precision control, and affordability—all essential factors in modern electronics manufacturing.
With consistent practice and attention to detail, you can master this essential skill while laying the foundation for more advanced PCB assembly techniques in the future.

FAQs
1. What is a manual SMD placement machine used for?
Manual SMD placement machines are used for placing surface-mount devices onto PCBs in low-volume production or prototyping scenarios where precision is required but full automation is unnecessary.
2. How do I choose between manual and automatic SMD placement machines?
Choose a manual machine if you need cost-effective solutions for small-scale production or prototyping. Opt for automatic machines if you require high-speed, large-scale manufacturing with minimal human intervention.
3. What tools do I need alongside a manual SMD placement machine?
Essential tools include tweezers, vacuum pens, solder paste dispensers, magnification devices (microscopes), anti-static mats, and reflow ovens.
4. Can beginners use manual SMD placement machines effectively?
Yes! With proper training and practice, beginners can achieve accurate results using manual SMD placement machines.
5. What are common issues with manual SMD placement machines?
Common issues include component misalignment, insufficient vacuum pressure, operator fatigue, and difficulty handling very small components. Regular maintenance and practice can mitigate these problems.


